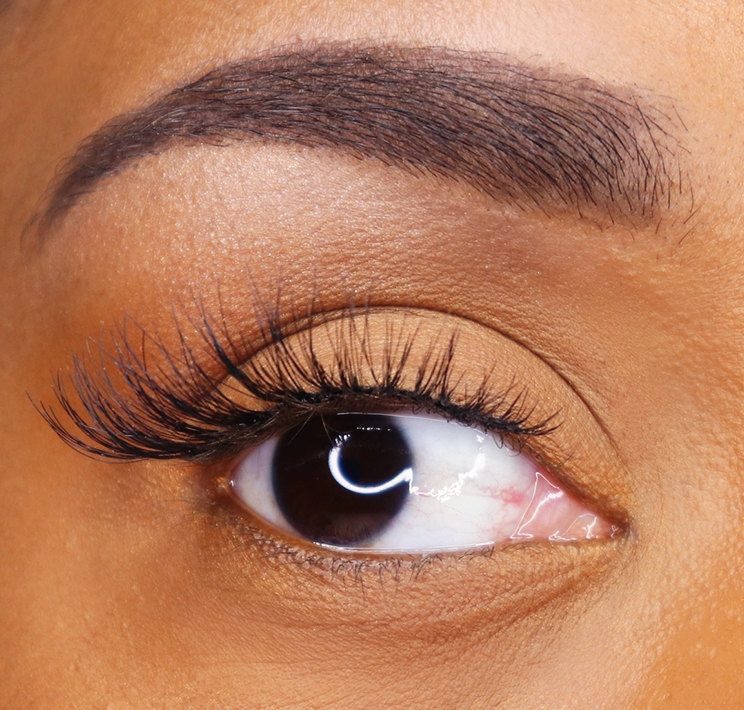
Eyebrows are one of the most pronounced features on your face, so it’s important to make sure that they are properly groomed and shaped in a style that fits your face. I’m happy to share a few tips to slay your brows at home.
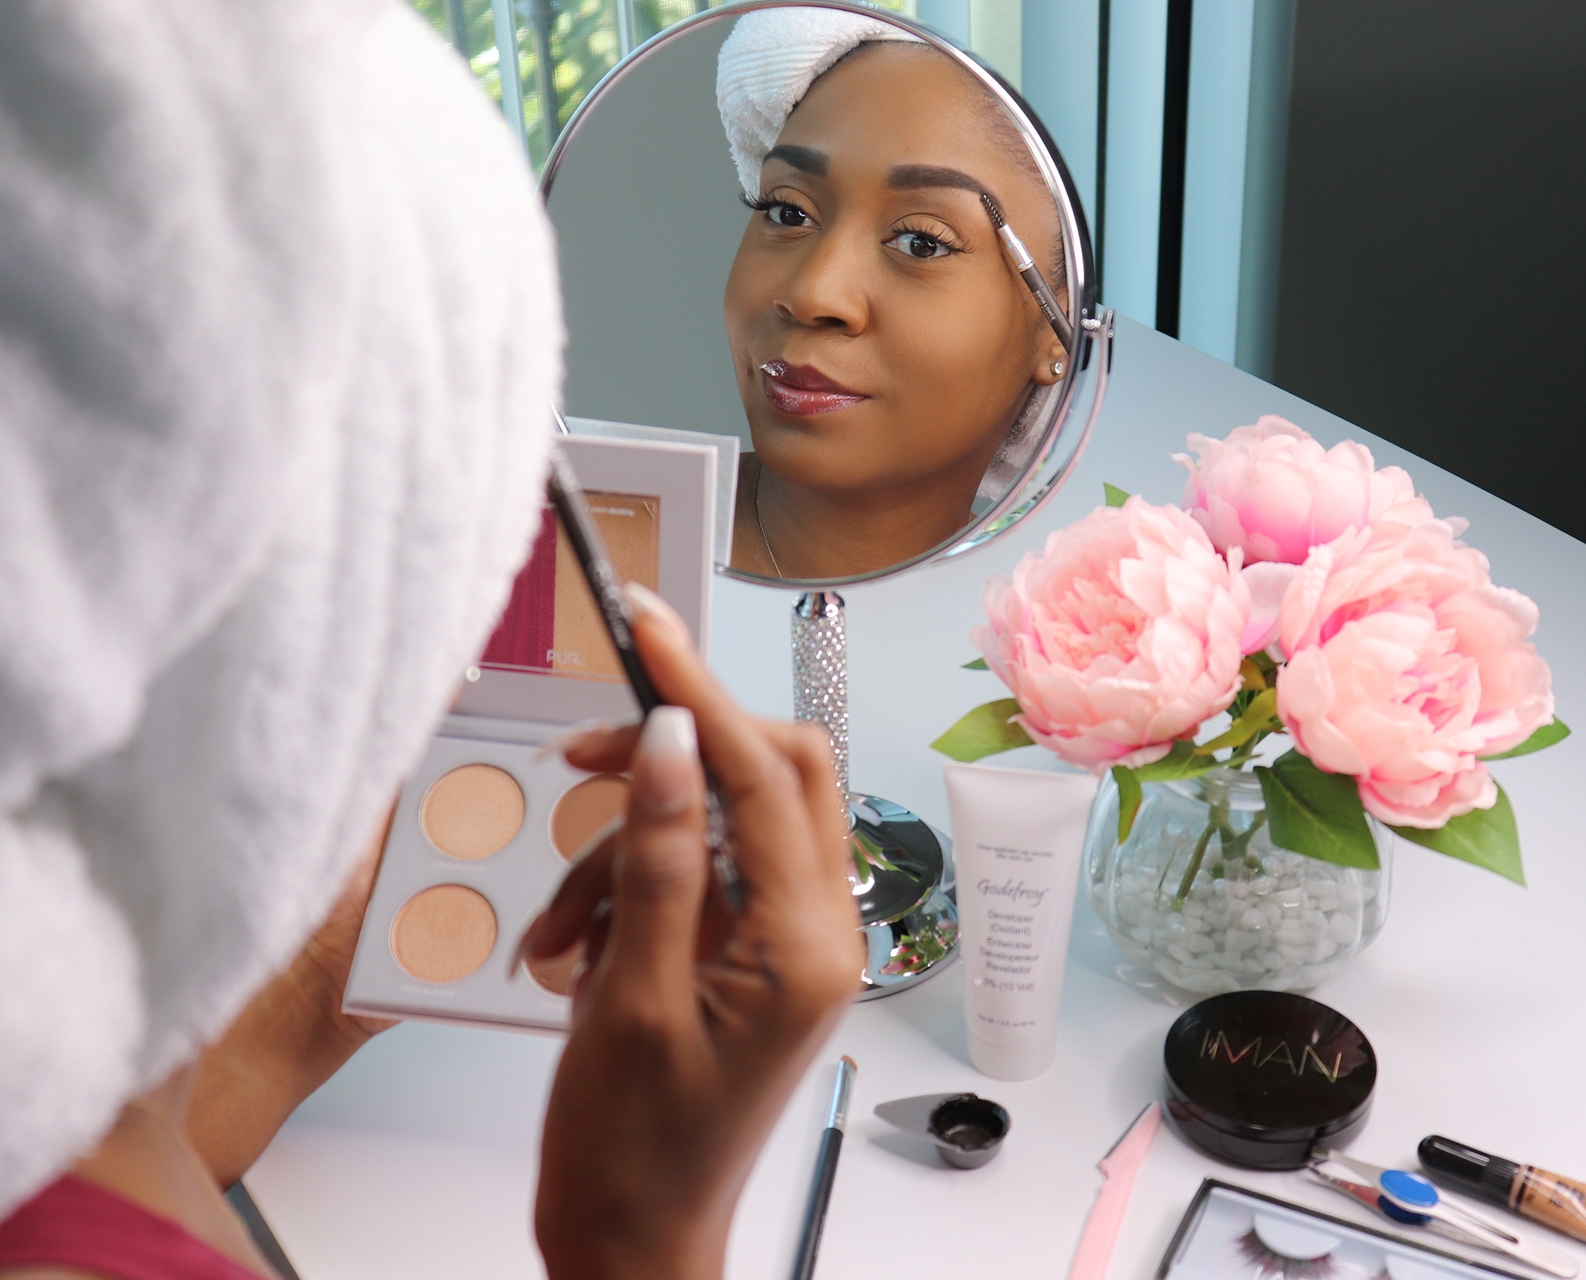
Here’s What You’ll Need:
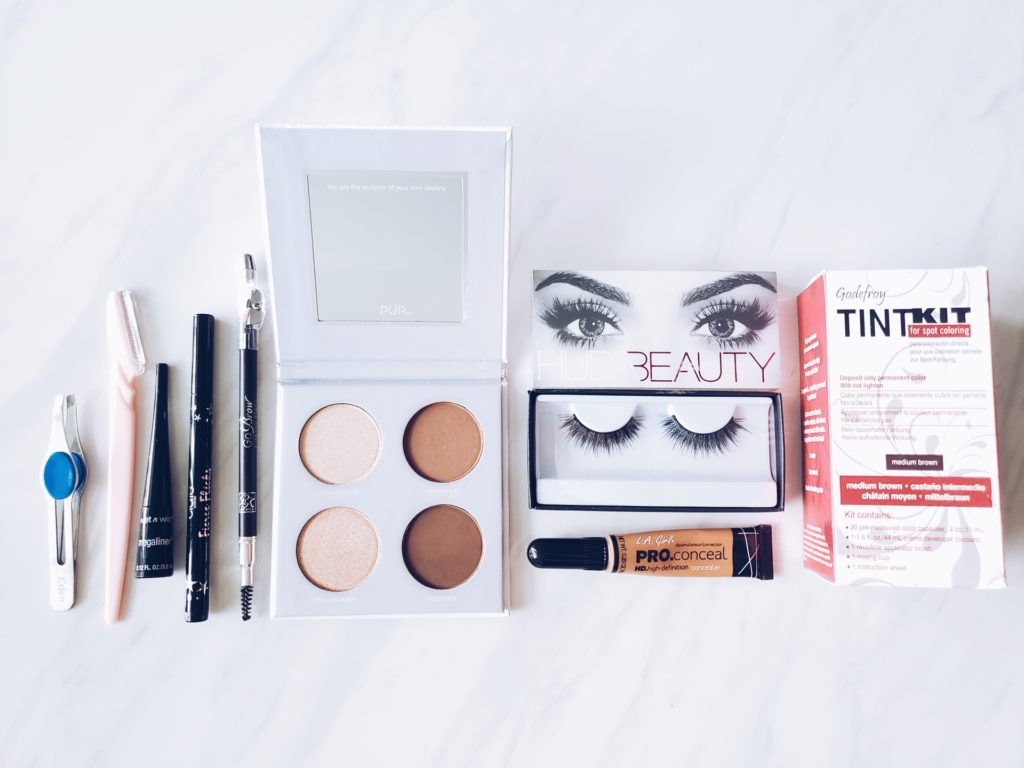
Shop the Tutorial Products:
Godefroy Professional Tint Kit, Medium Brown
GoBrow Eyebrow Pencil with Sharpener, Dark Brown
L.A. Girl Pro Conceal HD Concealer, Warm Honey
PÜR Sculptor Highlight & Contour Palette
Fierce Flicks Precision Tip Liquid Liner by Ciate London
Huda Beauty Mink Lashes- Jade #13
Tweezers
Eyebrow Razor
The Shape
The shape of your eyebrow is key to create a nice look. Brow shapes differ and depending on your face shape, you may be drawn to a specific look. My favorite brow shapes are “Steep Arch” and “Arched”.
Mini Disclaimer: I have been shaping my eyebrows since high school (ages ago lol) and I went through a “trial and fail” phase. So, shape your eyebrows at your own discretion.
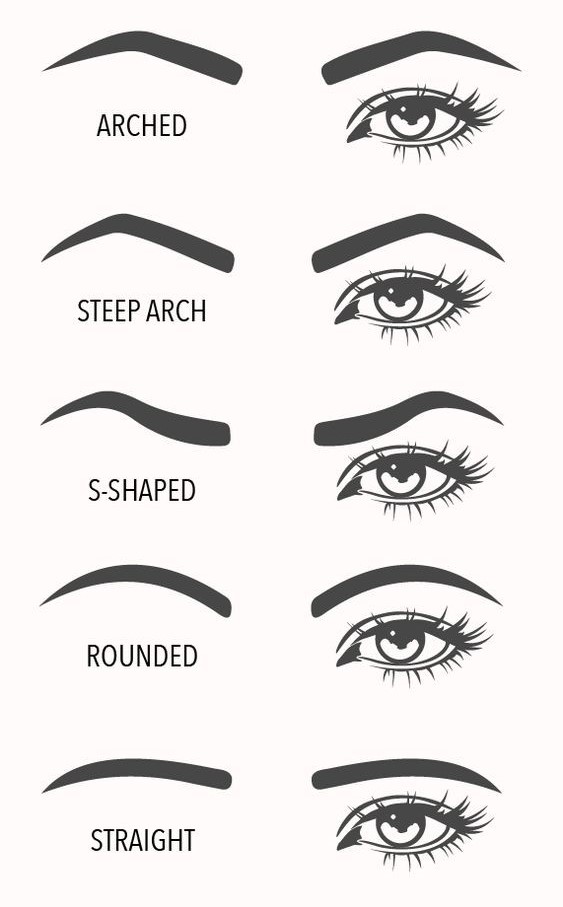
Steps for shaping the brows:
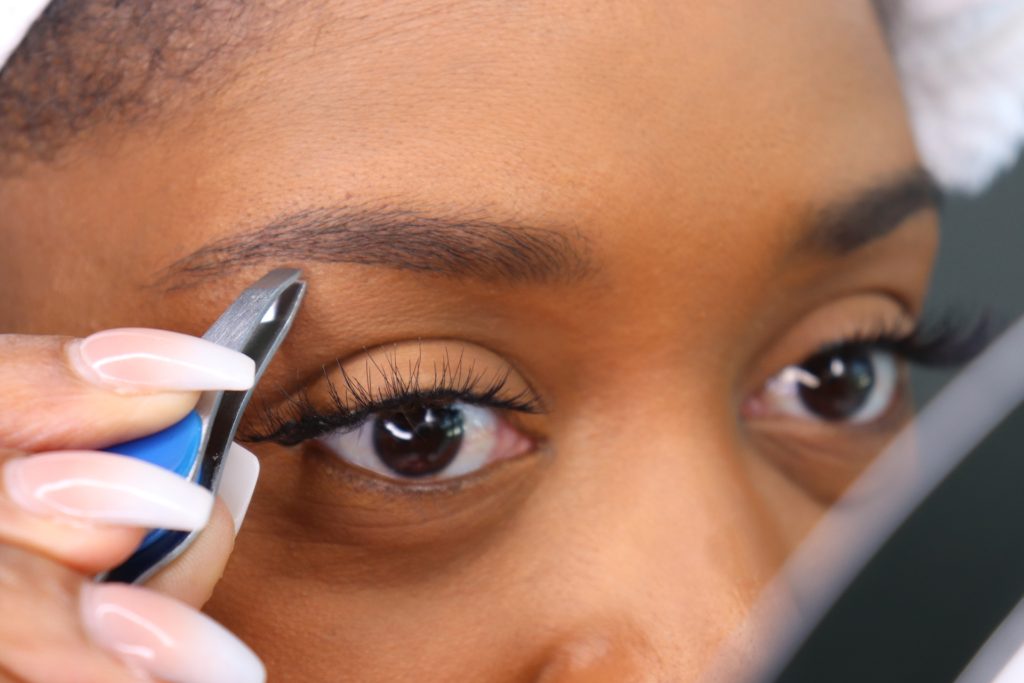
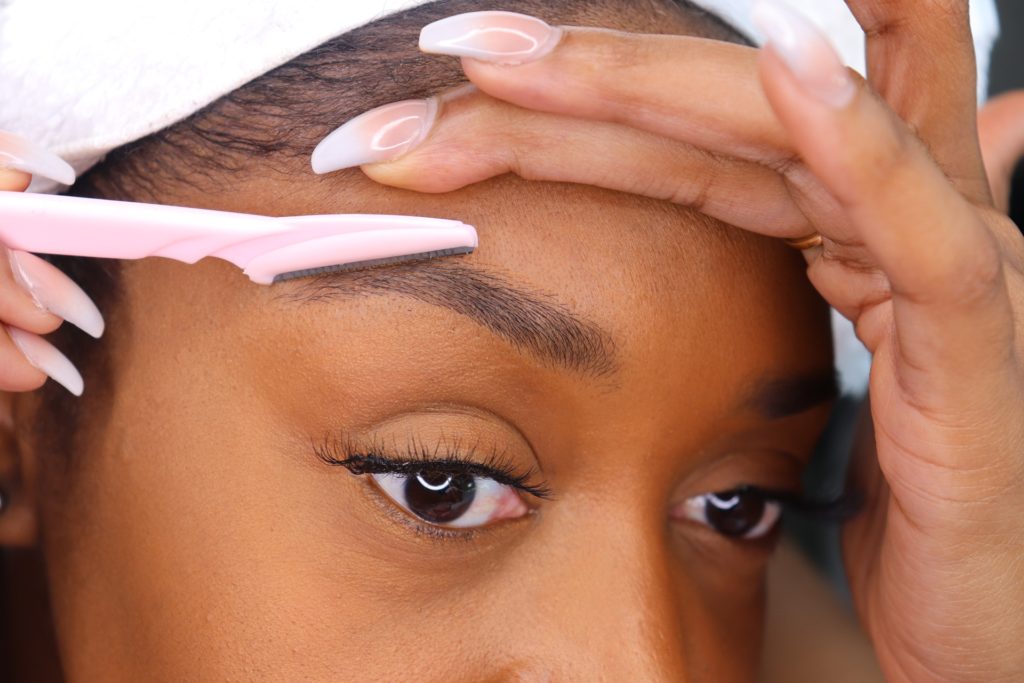
To shape my eyebrows, I use 2 methods: (1) Tweezing and (2) Eyebrow Razor
Step 1: Before you begin grooming your eyebrows, be sure to wash your face.
Step 2: Tweeze unwanted hairs.
Step 3: I finish the arch by shaping it in my desired arch style with a good ole eyebrow razor that you can find at your local beauty supply stores.
The Tint
I watched several YouTube tutorials about a year ago which featured the Godefroy Professional Tint Kit. After reviewing multiple reviews, the kit seemed like a pretty easy product to use so I gave it a shot. And to my surprise, it works wonders. It’s very simple to use and a money saver.
There are multiple color shades and after testing out a couple, I prefer the medium brown shade tinted color. The color should last up to one week, sometimes a little longer.
The kit comes with all the tools you need to dye your brows. The product contains a mixing cup, applicator brush, crème developer and color capsules, and most importantly instructions.
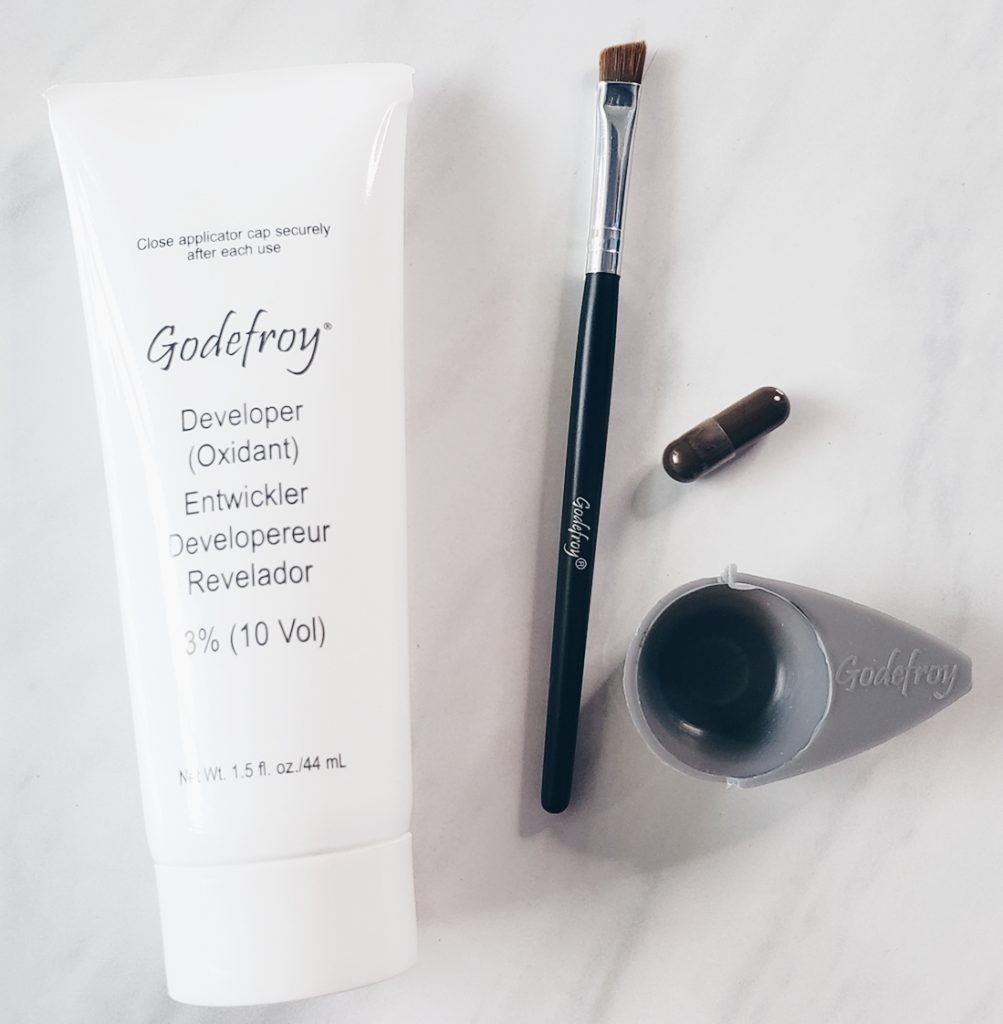
Godefroy Professional Tint Kit – Medium Brown
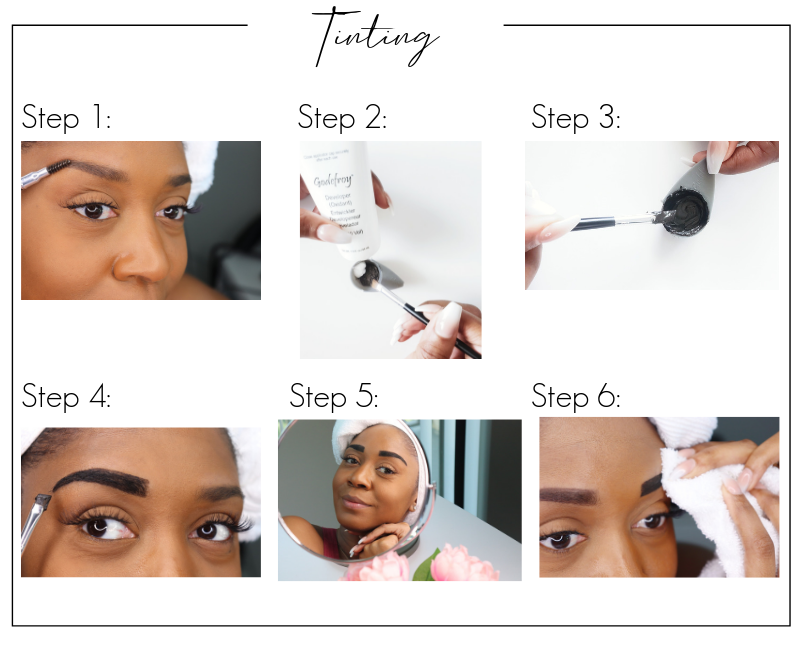
Steps for tinting the brows:
Step 1: Use a brow comb to brush the hairs in place.
Step 2: Pop the color capsule open and pour the powder into the small mixing cup. Follow by adding a dime size amount of crème developer into the mixing cup.
Step 3: Using the applicator brush, stir the contents until it’s creamy. Be careful, the mixing cup is very small; so, the contents tend to spill over.
Step 4: Using the applicator brush, lightly tap the brush in the mix and use it to outline and fill in the areas that you would like to tint on your brows.
Step 5: After shading in the areas that you would like to tint, let the mix process for 2-5 minutes. However, I prefer my eyebrows to tint a little darker, so I keep it on for 10 minutes.
Step 6: Wipe the dye away with a washcloth and water, and voila! You’re done! (The dye will stain the washcloth, so I recommend using an older washcloth)
Disclaimer: The Tint Kit by Godefroy is not intended for eyebrow tinting. It is primarily used for tinting areas such as beards, mustaches, and sideburns (warning on box label). It contains chemicals that may irritate your eyes or possibly cause blindness. I recommend testing the product on a small section of hair to make sure you don’t have any skin reactions. I have used this product multiple times in my eyebrow area without any irritation or adverse side effects. However, we all have different skin types; so, use the product at your own discretion. Also, I am not a licensed esthetician, makeup artist, doctor, or hair stylist.
Enhancing the Brow with Makeup
To finish off a manicured eyebrow look, a little contouring is recommended. This step is optional, but it can enhance the overall look of your brows.
Steps for contouring the brows:
Step 1: Use an eyebrow pencil or eyebrow kit to shade in any areas needed after the tinting of the brow (if needed). Outline the eyebrow with a light concealer (top and bottom of the brow). Use a makeup brush to shade it in so it’s not a harsh line.
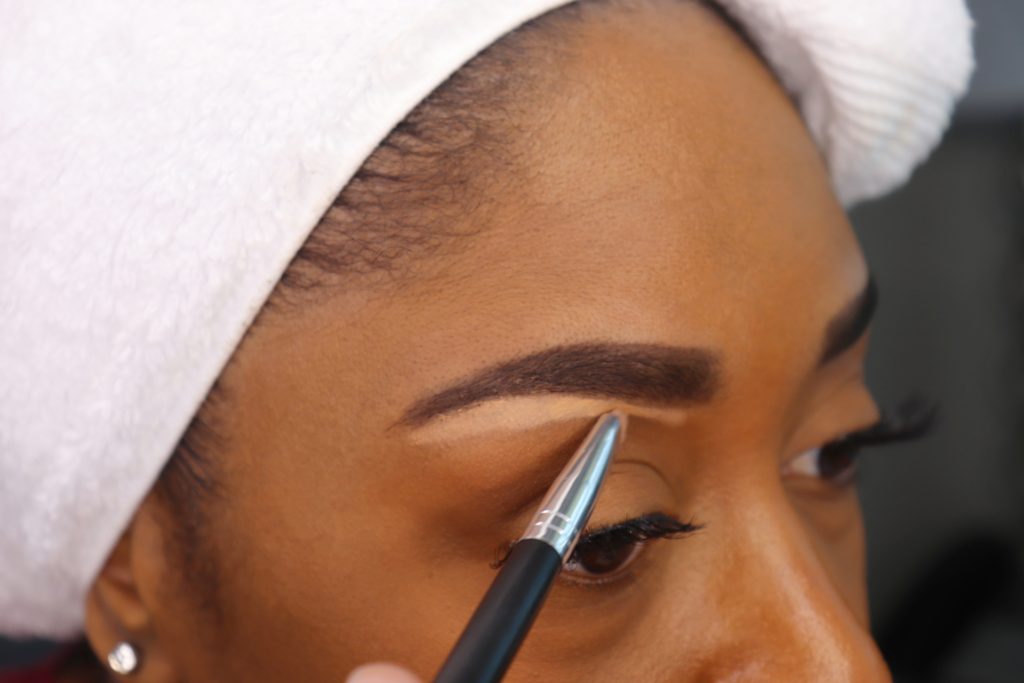
Step 2: Use a highlighter to highlight the brow bone area.
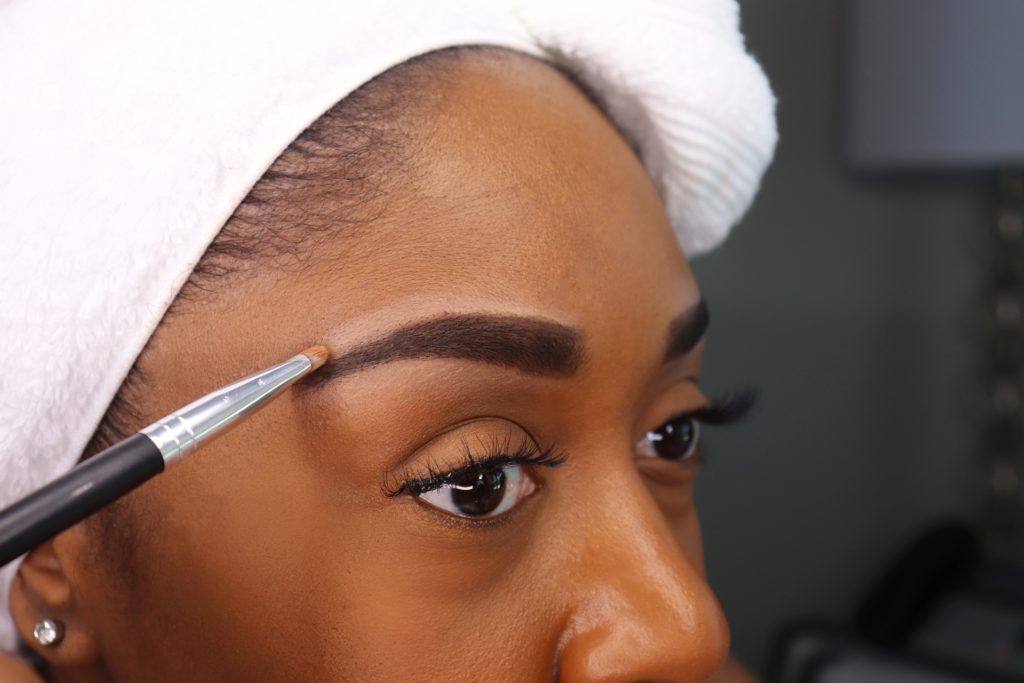
Step 3: Outline the eyebrow with a light concealer (top and bottom of the brow). Use a makeup brush to shade it in so it’s not a harsh line.
Step 4: Apply makeup to the rest of the eye such as eyeliner, mascara, and eyeshadow.
I hope you enjoyed this tutorial!
Talk to me!
What’s your favorite brow shape? Have you tried slaying your brows at home?
I would love to hear from you, so please feel free to share comments, questions, and feedback below. Contact me here.
*This is not a sponsored or paid post. The review includes my own thoughts and opinions about the item(s) and/or companies of discussion.




Madetohome.Com
March 19, 2020Some DIY beauty tricks are totally worth it. You can save time and money by dyeing your roots or plucking your brows in the comfort of your bathroom. But laser hair removal?